Projects are another way of displaying galleries and video except that with projects you can group them by category just like a blog post (i.e. Design, Photography, etc) and then direct the user to an overview page with feature images and then from there they can browse the category content. You can include overview text and social share links.
You can then (by using prev / next buttons) move between items in each category quickly and easily.
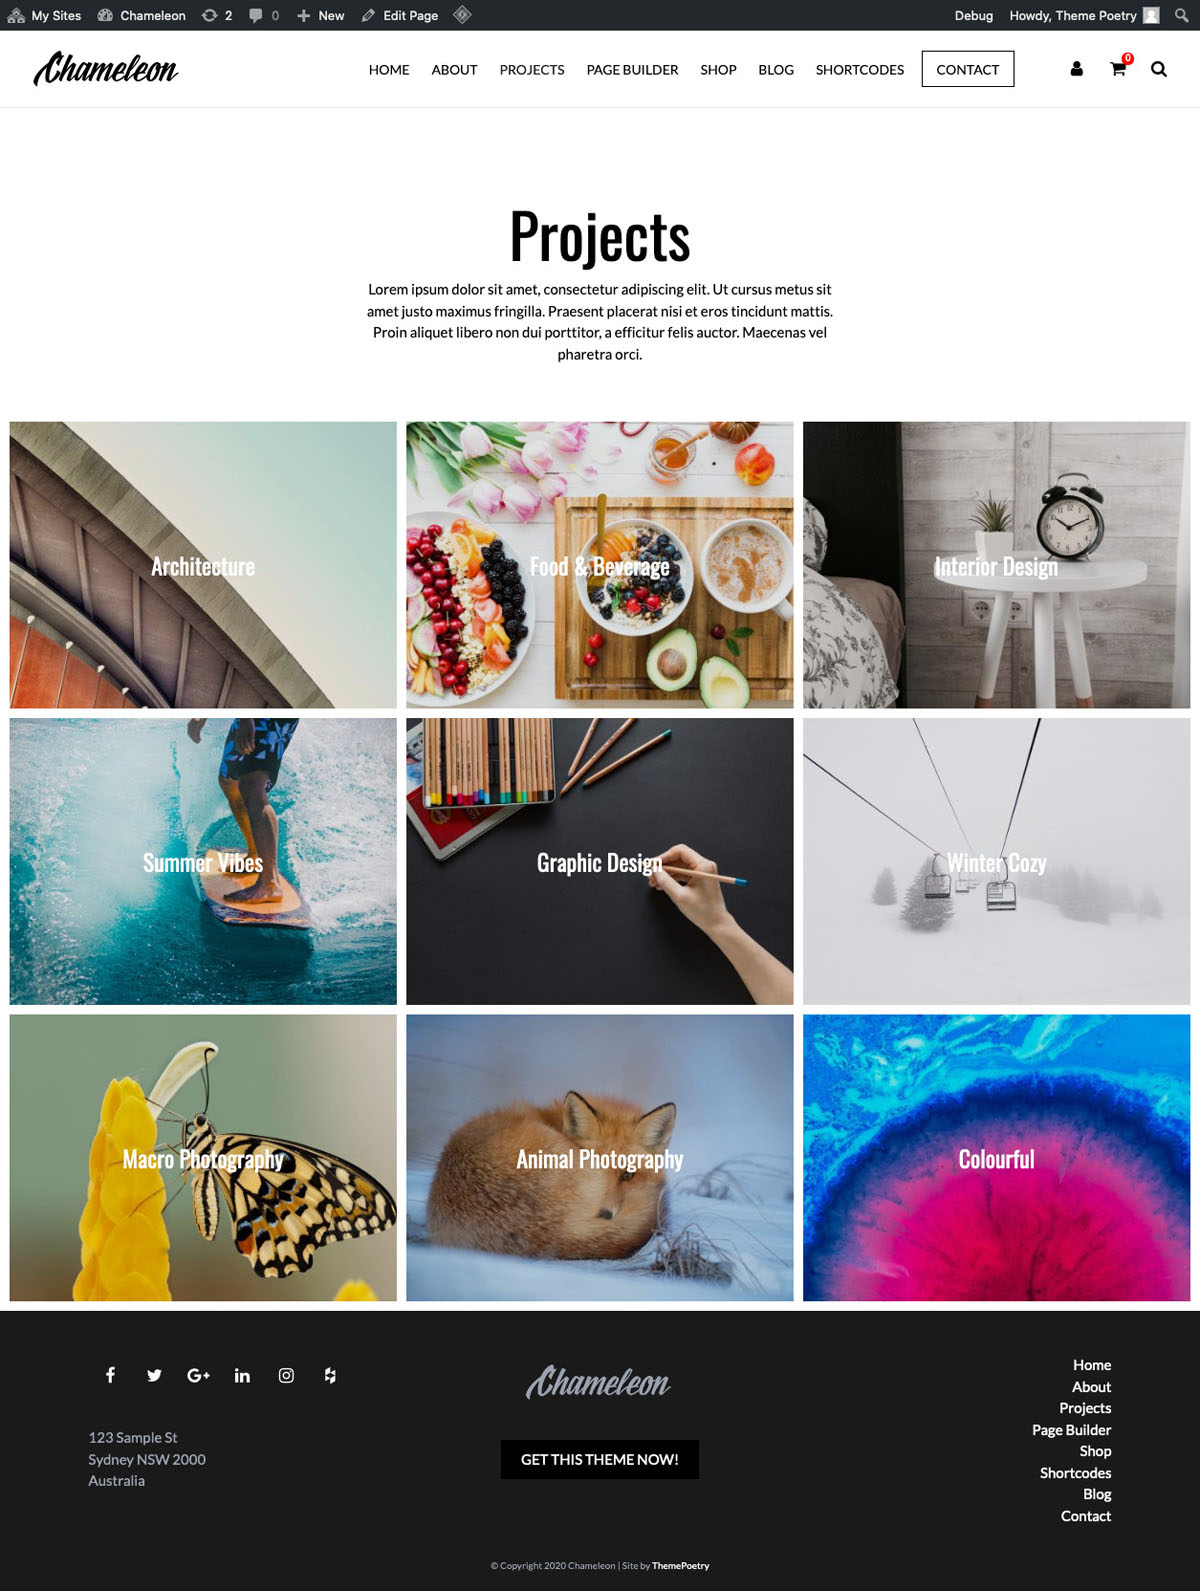
All projects regardless of category can be displayed under the main menu item as per below:
Or you can direct the user straight to a category via a menu item such as is displayed below:

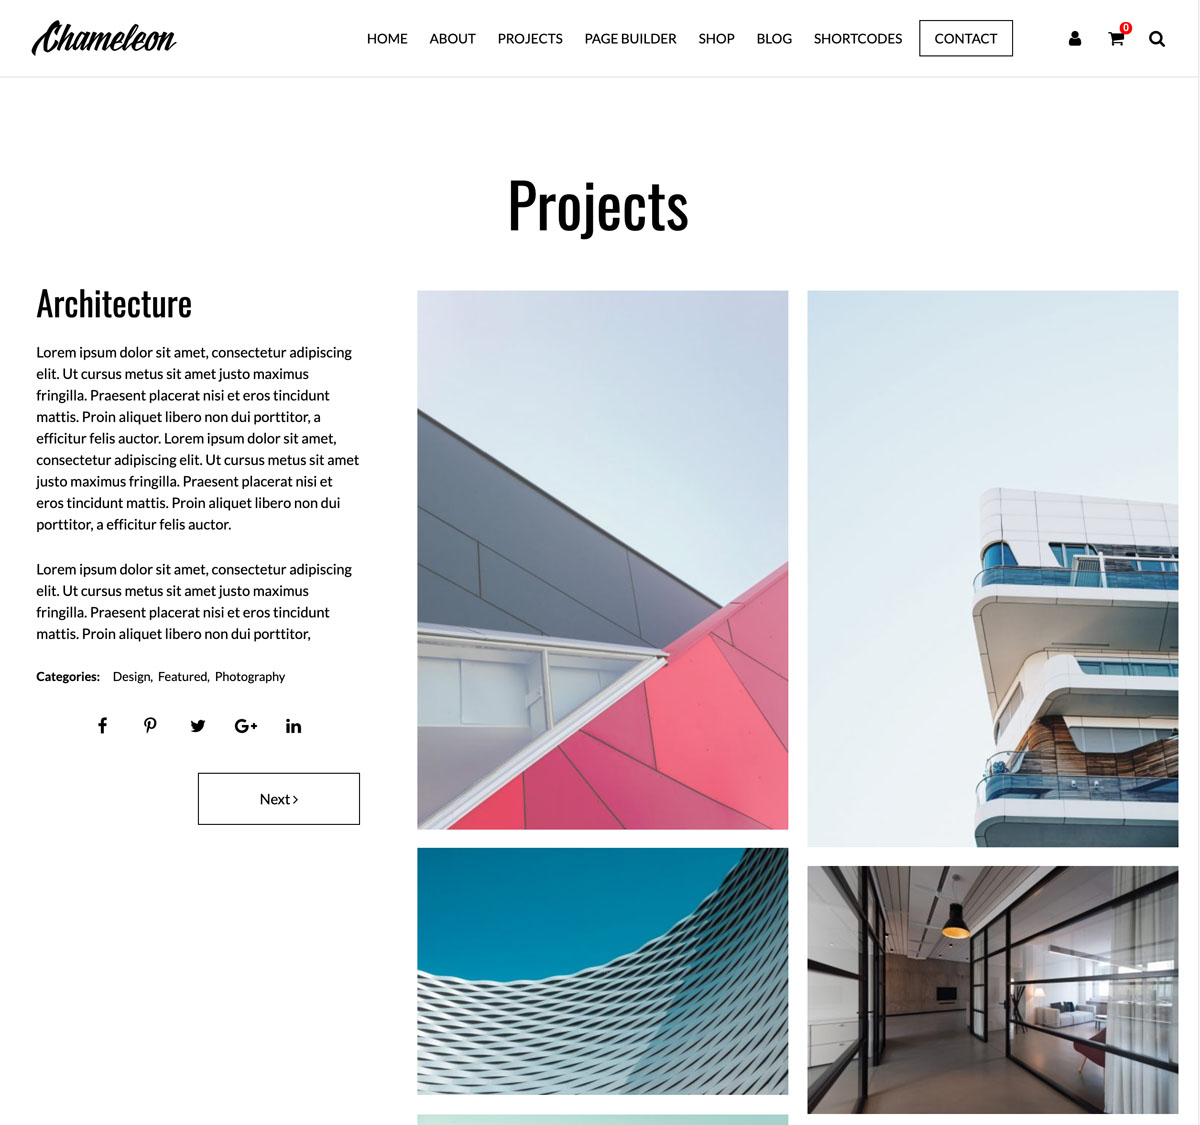
Once the user clicks one of the feature images above they will arrive at the individual project as shown below:
Lets create a Project
Project Options
- In the WordPress Dashboard go to Theme Settings > Projects
This is where you set your options to display the overall name of the type of projects you are showing – for instance you may want to call it Portfolio.
You can then set whether or not the feature images are displayed in 2, 3 or 4 columns.
Project Categories
- After you’ve set your project options go to Projects > Project Categories
- Create at least one category by typing into the Name field, leave the Slug empty and then enter a description.
- Categories could be something like Architecture, Interior Design, Photography etc.
- Click Add New Category
- Repeat until you have entered all of your categories.
Project landing page
This page will show all projects regardless of category – you can choose to include this page or not by including it or not in your menu.
- To create the landing page go to Pages > Add New – name it Projects or whatever you decided in the Theme Settings and enter a description.
- !Important! In the Page Attributes pane select Projects from the drop down under Template
- You can add a description if you like or leave the text area empty.
Save the page.
Now we can Add a Project
- Now we have our Categories and Landing Page click Projects > Add New
- Enter a title and any text you want for this particular project item. Don’t forget that whilst you can’t use the Page Builder here you can use shortcodes in the text area!
In the Project Gallery pane choose the Gallery type and page layout you prefer. (If you’re not sure just choose the first one – you can change it later) - Click Add to gallery to open the media library
- Select all of the images you wish to be in this gallery and click Select
- The images are now in your gallery and you can reorder them by ‘drop and drag’ or sort them by the drop down menu.
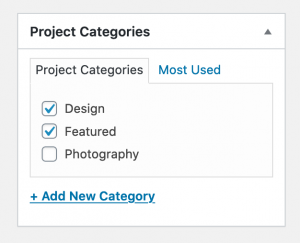
- Select the applicable category or categories in the Category Pane that looks like this:
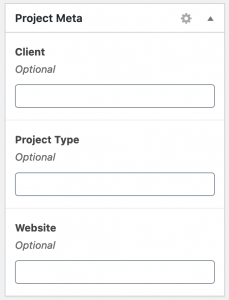
- Enter the Project Meta into the Project Meta Pane which will appear on the page below the description text.
- Select a Featured Image – this is the image that will be displayed in your project overview and which a user will click on to get to this page.
Now view the project in your browser and make any adjustments.
Ok that’s one down – now add the rest of your projects!