Adding a blog post is as simple as adding a page but the difference is that a post can be ordered by category or date.
Categories are useful for dividing your posts into groups and allowing the visitor to view each group separately.
Each category can have its own name, header image and description text.
Let’s set up some categories and create a blog post
- Go to Posts > Categories
- Enter a Category name (Lets call the first one News) then enter a description and header image – set the header options then click Add New Category.
- Now add some more (name them whatever you like). Keep adding until you have added all of your Categories.
- Now go to Posts > All posts and click on the default Hello World! post or create a new post.
- Enter a title – add some content (text and images – you can use shortcodes in the post but you can’t use the page builder)
- Allocate the post to one or more categories (yes post can be allocated to multiple categories)
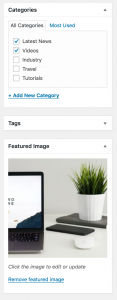
- Click on Set Featured Image and select an overview image (this is the image that will show in the Post Overview Page and in the Header of the post).
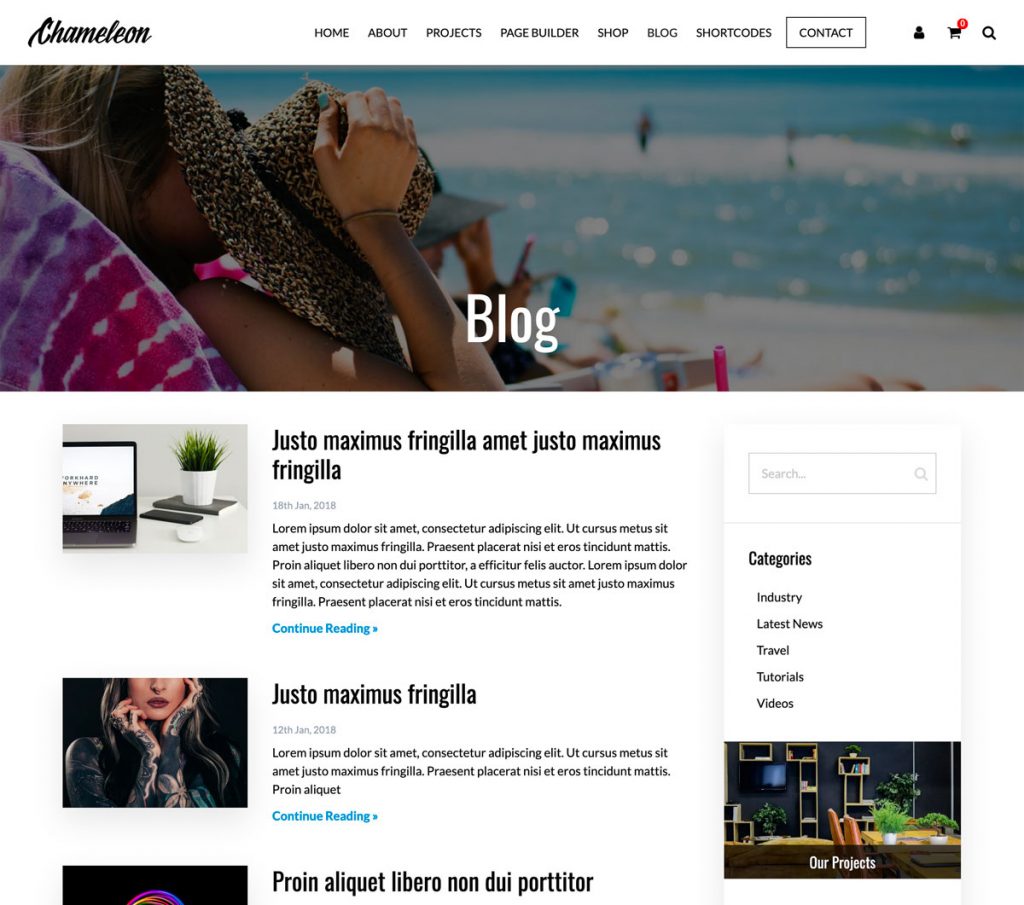
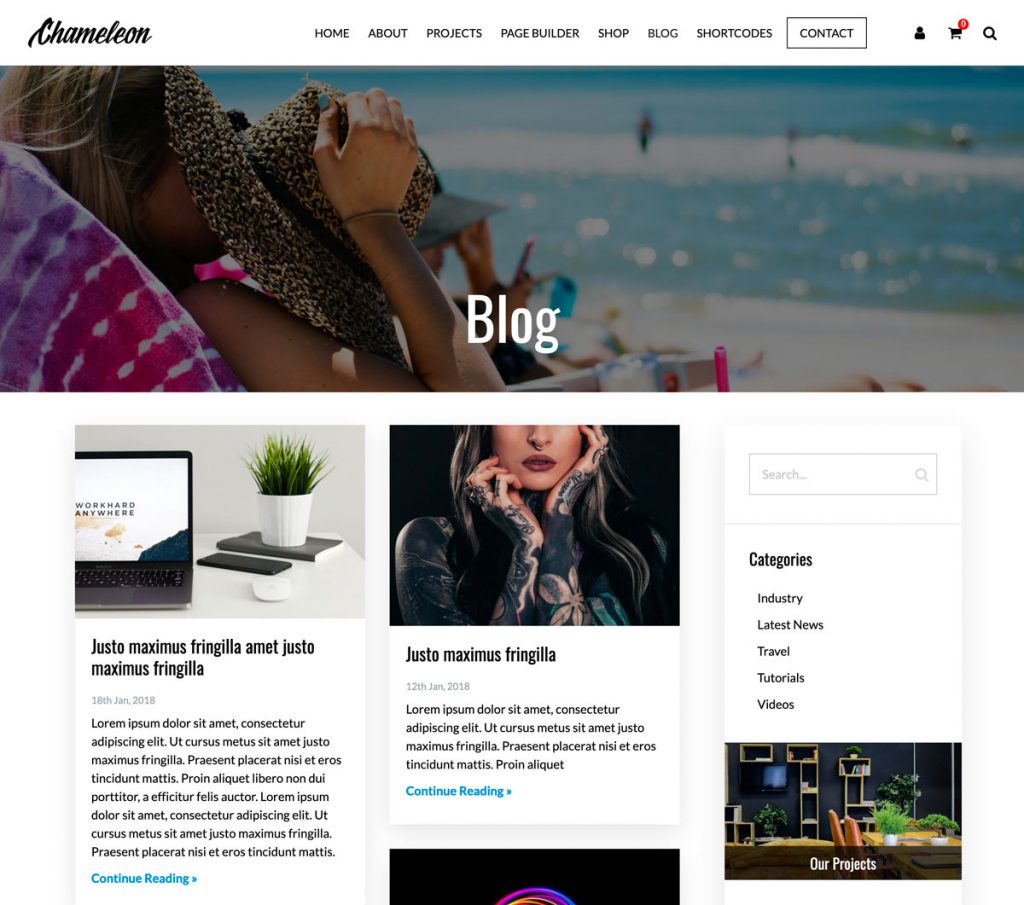
There are two layouts too choose from for your blog section. You should have already chosen one in the Theme Settings > Blog but you can change these at any time.
You can further customize your blog posts by adding a Sidebar (this is also in Theme Settings > Blog) and then further customise the sidebar using Widgets (we’ll get to those in the next unit)