Wordpress is a great open source platform with most of it’s power coming from the 50,000 available plugins which you can download and install – just like apps on your phone there are free and paid plugins.
Adding a plugin is easy. Some are easy to set up and some really complicated.
I’m going to show you how to install a plugin then we’ll use it to create a simple contact form.
There are a lot of form plugins out there. I’ve selected this one for its ease of implementation but feel free to experiment with other plugins.
Installing a plugin
- In your Dashboard menu go to Plugins > Add New
- It is here that you can search or upload plugins.
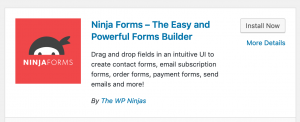
- In the Search field type Ninja Forms and you should see this:

- Click the Install Now button then when available click the Activate button
- Now in your admin menu you should see Ninja Forms.

Setting up the form
This plugin has a huge range of options but for now we are only going to cover the basics (you can experiment later).
- Click on the Ninja Forms menu item and you will see that there is already a form for you to use called Contact Me.
- If you click on Contact Me you will see the fields of the form, Name, Email and Message with a Submit button.
- You can use this form or click the “+” to add more fields. Also use the Advanced > Display Settings menu for extra form settings.
- Once satisfied with your form we need to tell the form what to do when the Submit button is clicked.

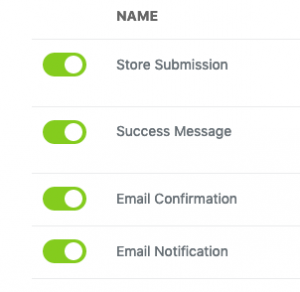
- Click on the Emails & Actions menu item and you will see:

- Store Submission – if you want to keep a copy of what is sent to you in the WordPress admin leave this on. You would view stored submissions by clicking Submissions in the WP Admin dashboard under Ninja Forms.
- Success Message – this is used to show the user a message that their form was sent to you successfully and appears on the page where the form was.
- Email Confirmation – Similar to the Success Message however this sends and email this to the user.
- Email Notification – This is used to send an email to yourself notifying you that an email has been submitted.
- You will need to go into each of the above and set up your preferences.
Now we’ve created the form – now we need to put it on a page.
- To do this we simply copy and past the shortcode and place it on a page.
- If you click the Ninja Forms button in the WP Admin you will see a page similar to the image below – Highlight and copy the shortcode. The shortcode in this instance is [ninja_form id=1]

- Click Pages > Add New
- Title the page Contact Us or similar.
- Paste the shortcode in the text area.
- Save the Page – go to Appearance > Menus and add the Contact Us page to your menu
- Your form should now appear on that page when you view your website. Have a look and make any adjustments required.
Let’s improve on this
- Go back to the Contact Us page in Admin and click the Insert Shortcodes button.
- Select Map and enter you preferred map height in pixels and your address.
- Now go to the front end of your website and preview it – the form and map are both full width on the page.
Try using column shortcodes to put the form beside the map!
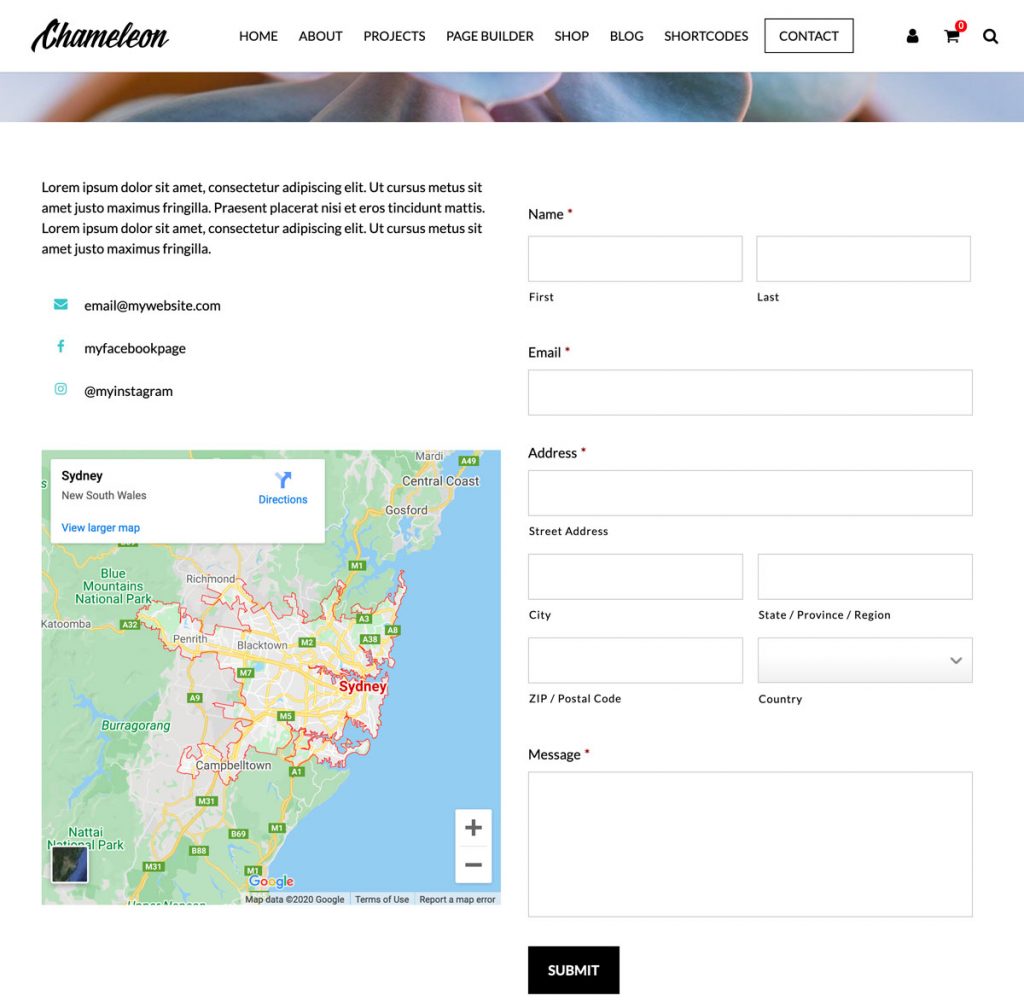
As an exercise see if you can make your page look something like this:

