The Customizer is a really great tool for doing a number of things and viewing the changes as you make them.
We’ve already covered Site Identity and Home Page settings – Let’s go over Colors and Fonts.
Colors
This is where you can really make your website different.
It’s a good idea to have your colors worked out before getting into this – a good resource is:
https://color.adobe.com/create
I’ve left this until now because we needed to have some website content so that when changing colors and fonts you can really see what is happening.
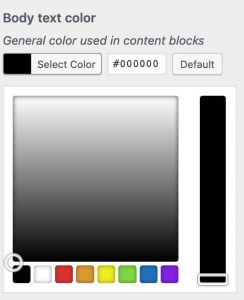
We have made it possible for you to change almost all of the colors on your website including font and backgrounds for your pages and posts, header and footer. You can specify some colors to be different for mobile also. You can select the color for each component visually using the color picker or if you know the HEX color (a hex color looks like this #4aBaFa) you can paste or type that into the HEX field.
Color settings include:
- Body Text color
- Body Secondary Text color
- Heading Text color
- Link color
- Link hover color
- Body background color
- Body background second color
Header
- Header background color
- Header text color
- Header active color
- Dropdown background color
- Action button color
Mobile
- Mobile menu background color
- Mobile menu link color
- Mobile menu active color
- Mobile menu text color
Footer
- Footer background color
- Footer link color
- Footer link hover color
- Social media icon color
Forms
- Input background color
- Input border color
- Input color
- Button background color
- Button border color
- Button color
When setting colors it’s useful to have a page with some content on it so you can see the colors in the live preview before you save them however you can change colors at any time so it’s not imperative to get all of your colors exactly correct at this stage.
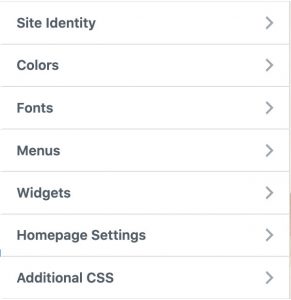
- Go to Appearance > Customize
- Select Colors
- Using the color picker you can select a color or specify an exact Hex color – have a play – you can always click the default button if you want to start again.
Fonts
This is also a great way to make the website your own – Choose from any Google font.
As Google is constantly adding fonts – rather than having a limited drop down menu we have designed Chameleon so you can choose from any Google font including those just released.
It’s a little more complicated but if you follow the guide you should be good!!
- Go to Appearance > Customize
- Select Fonts
![]()
You are going to replace the contents of the above fields with your preferred fonts.
You can choose one font for the body text and one font for the heading text with available font weights and variations.
You can also choose to make all headings Capitals by clicking the check-box if you wish.
Follow this guide exactly to set your fonts:
Online Guide
OR read the steps below:
- Step 1: Go to https://fonts.google.com and either scroll or search for the font you want to use.
- Step 2: Click the Add button to add it to your collection.
- Step 3: Click the selected fonts Panel.
- Step 4: In the Customize Tab, select the desired weights and styles.
- Step 5: In the Embed tab, Copy the following font code.
Note: This should look similar to: Oswald:300,400
Paste this into Customize > Fonts > Font Code in your WordPress Admin. - Step 6: Copy the font CSS style code.
Note: This should look similar to: ‘Oswald’, sans-serif
Paste this into Customize > Fonts > Font Family in your WordPress Admin.
So now your colors and fonts should be done and the style of your site starting to look good!