
This is probably the most important page on your site!
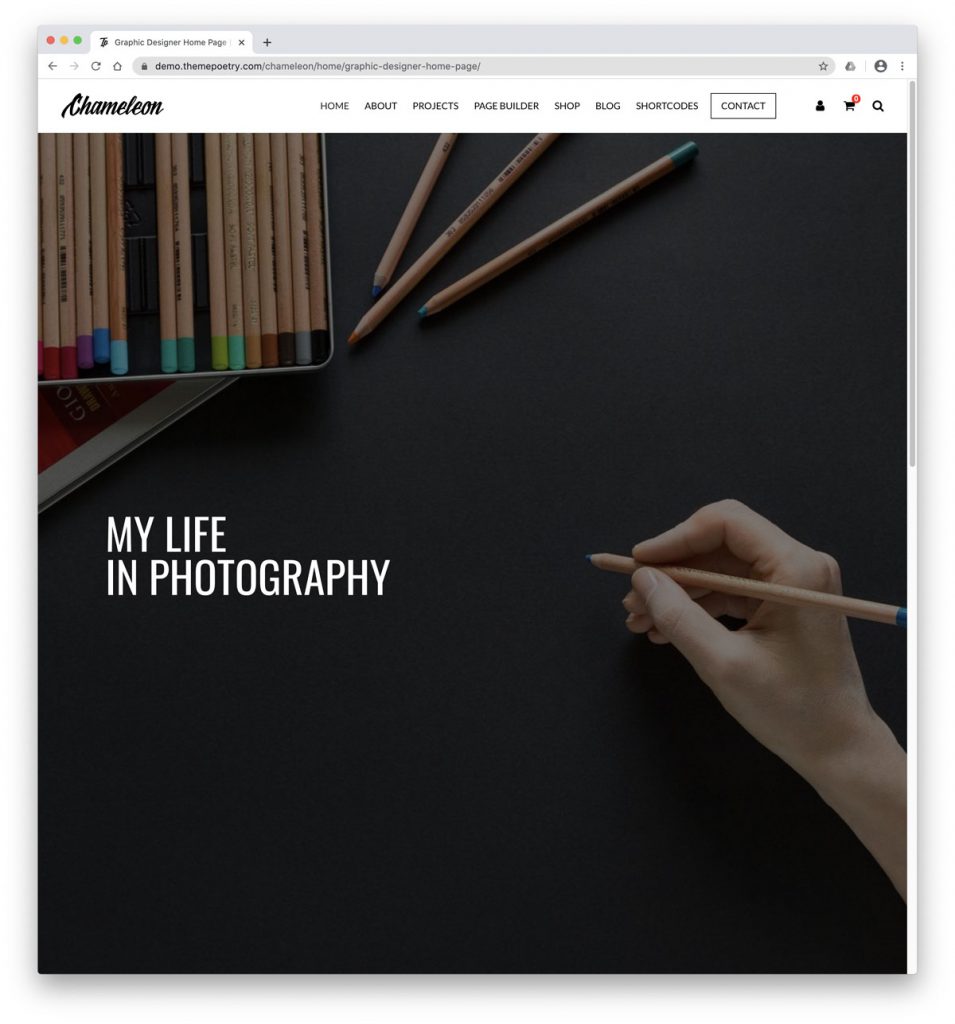
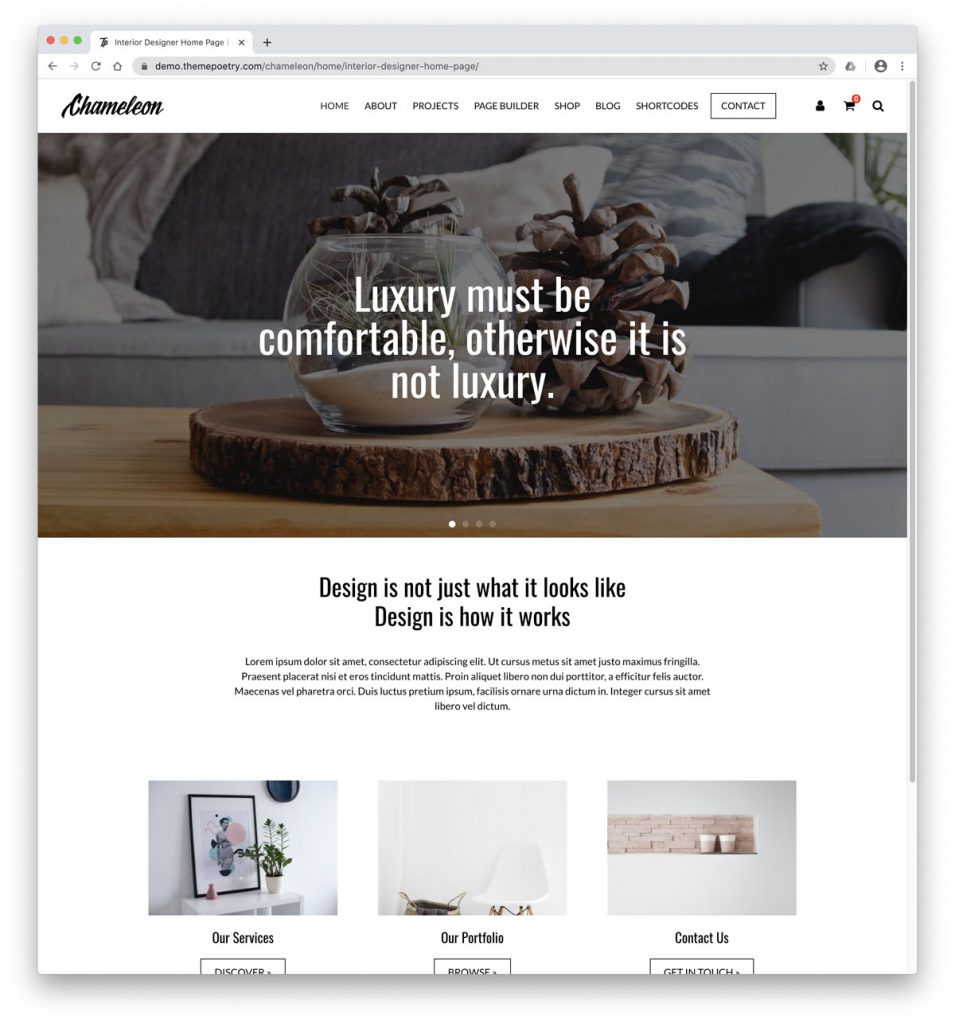
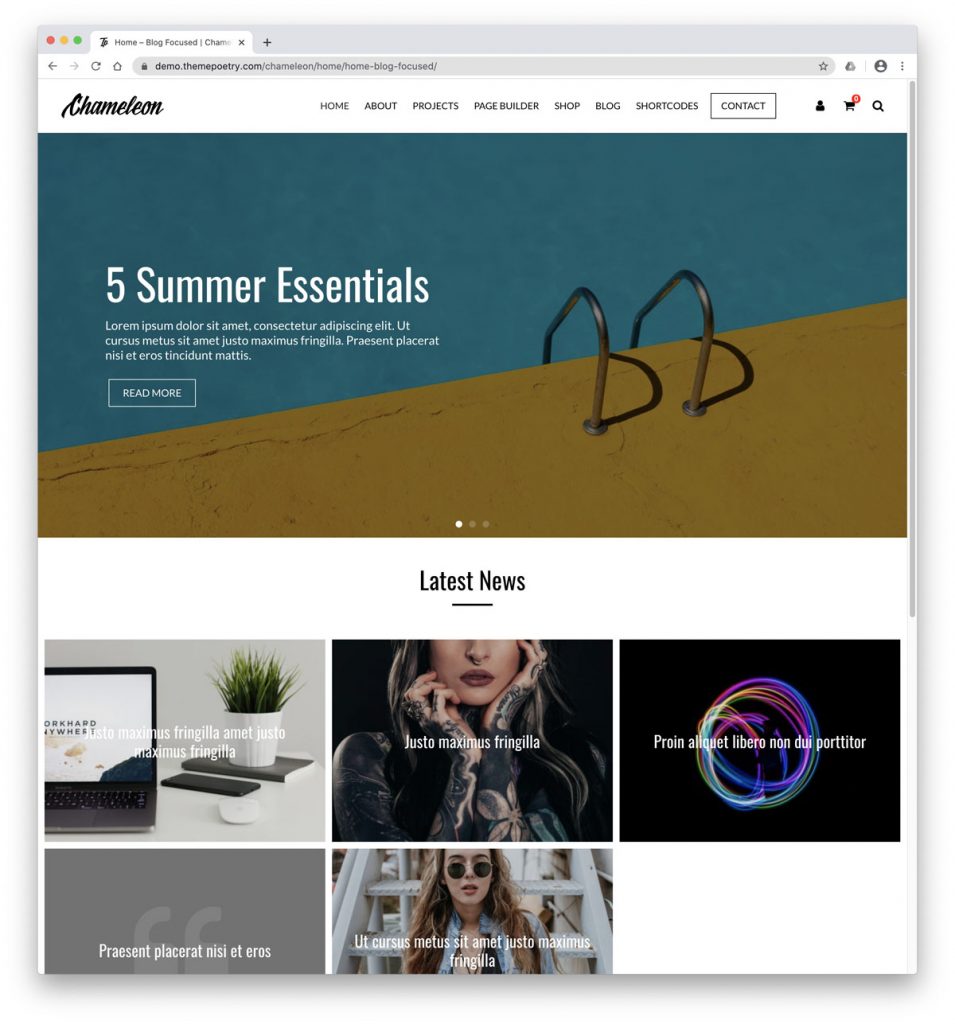
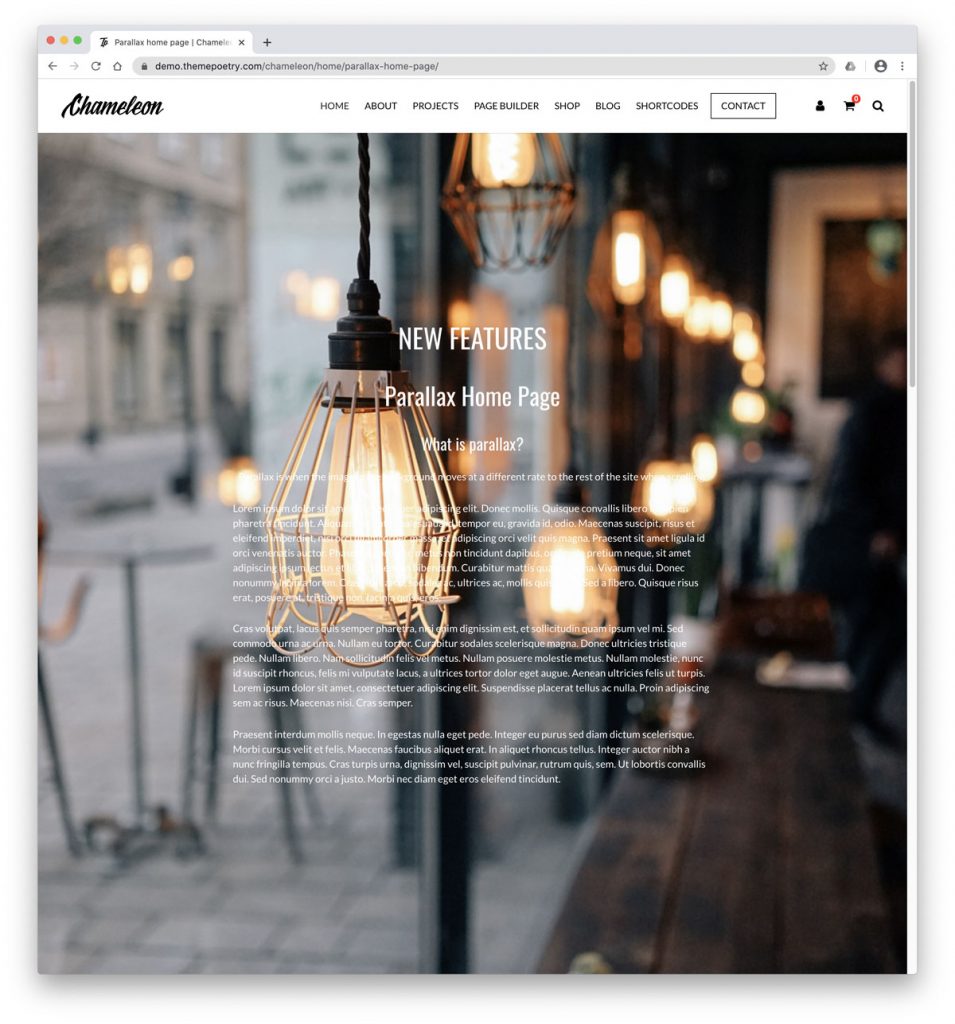
And this is where your site really starts to take shape. As the first page that a visitor will see it is extremely important to make a good impression. You can see from the examples above that Chameleon has the flexibility for you to easily customize your homepage. It’s up to you which page elements you use and where you put them!
So let’s get started with a simple guide to introduce you to the Page Builder. There is an entire module in the course that goes into detail for each of the Page Builder Sections – so if you get stuck please use if for reference.
In this Unit I’ll show you how to create a simple home page but don’t be limited to what I show you – you should experiment until you come up with your very own unique home page.
Our Homepage will consist of the following:
- A slideshow
- A text area
- A gallery
Let’s add the Slideshow
View on the Chameleon demo site
- In your admin click Pages and select the page called Home that we assigned to be the home page earlier.
- On the right side of the page in the Page Attributes pane select Page Builder.
!Important! By changing the page template to Page Builder you will enable an array of page sections which you can add to your page. 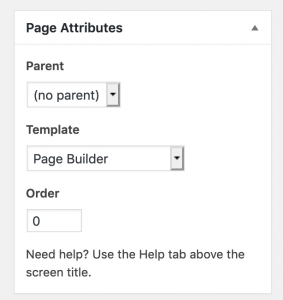
- You should now see the page change to this:
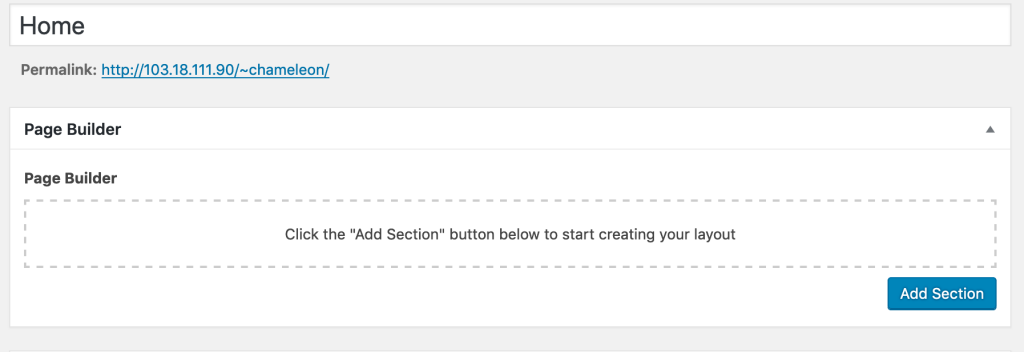
- Now we will add the first section – the slide show: Click Add Section and select Slideshow
- Enter the slider height and mobile slider height where for full screen enter 100% or anything less use pixels i.e. 600px (if using pixels you must include px i.e. 600px).
- Click Add Slide then Add Image
You are now in your Media area – once you upload an image or other media it will reside here and you can use it anywhere on your website time and again. Note: As slideshows are often full width you should use an image which is at least 1600 px wide by whatever height you wish it to show. - Click Upload image.
Click the Select Files button and select the image or images you wish to upload (you can upload more than one image at a time if you wish).
TIP!
You can also drag multiple files onto the window to upload.
- Once uploaded – select the image or images (you will see a tick) and click the Select button – you should now see a thumbnail of the image or images in each of its own sections.
- If you want a caption click the caption check box and enter some text as the Caption Title.
- Add text to the Caption Text field if desired
- If you want to add a button enter some text into the Button field (if you don’t want a button simply leave it blank)
- Add a link to the button by selecting from the dropdown menu (there’s no point having a button if it doesn’t go anywhere) You can select any page you currently have but so far we’ve only added the Blog – so for now select Blog from the drop down.
You’ll also see the options to add a second button – no need to do this for this exercise.
OK so that’s slide one done! - If you only added one slide, to add the next slide click Add Slide and repeat the steps above – use a different image and text otherwise simply set the captions and buttons for the next slides.
- You can keep adding slides until you are happy it.
[/list]
That’s your slideshow done! Have a look and see if you happy with it.
Now we’ll add a text area.
View on the Chameleon demo site
The Page Builder Text Area has the similar options to the standard WordPress text area – so you can use the WYSYWYG toolbar and insert Shortcodes BUT with this Text Area you can add a background color and specify a color for the text!
Let’s add it below the slideshow:
- Click Add Section and select Text Area
- Specify Tidy or Full Width for the Margins (you can try these and have a look to see what you prefer)
- Enter a heading and some dummy body copy
- While in the Visual setting select the heading and apply the Heading 2 style to it.
- Click Insert Shortcodes and add a Divider.
- Select all of the text and centre it using the above toolbar.
That’s the text section done! Now have a look and see if you happy with this section.
TIP!
The best way to work on your website on a small screen is to have two tabs in your browser. One for the Admin and one for the front of the website – this way you can quickly toggle between the two.
To open your website in another Tab right click on the name of your website in the Dashboard and select open in new tab OR if you have a larger screen you can have two windows open side by side.
OK so now you have a go
Add sections as you require – you can rearrange them easily by drop and drag using the arrow tool (which shows when you mouse over the Section Heading) or add and delete sections by mousing over the section name and clicking on the + or – button.
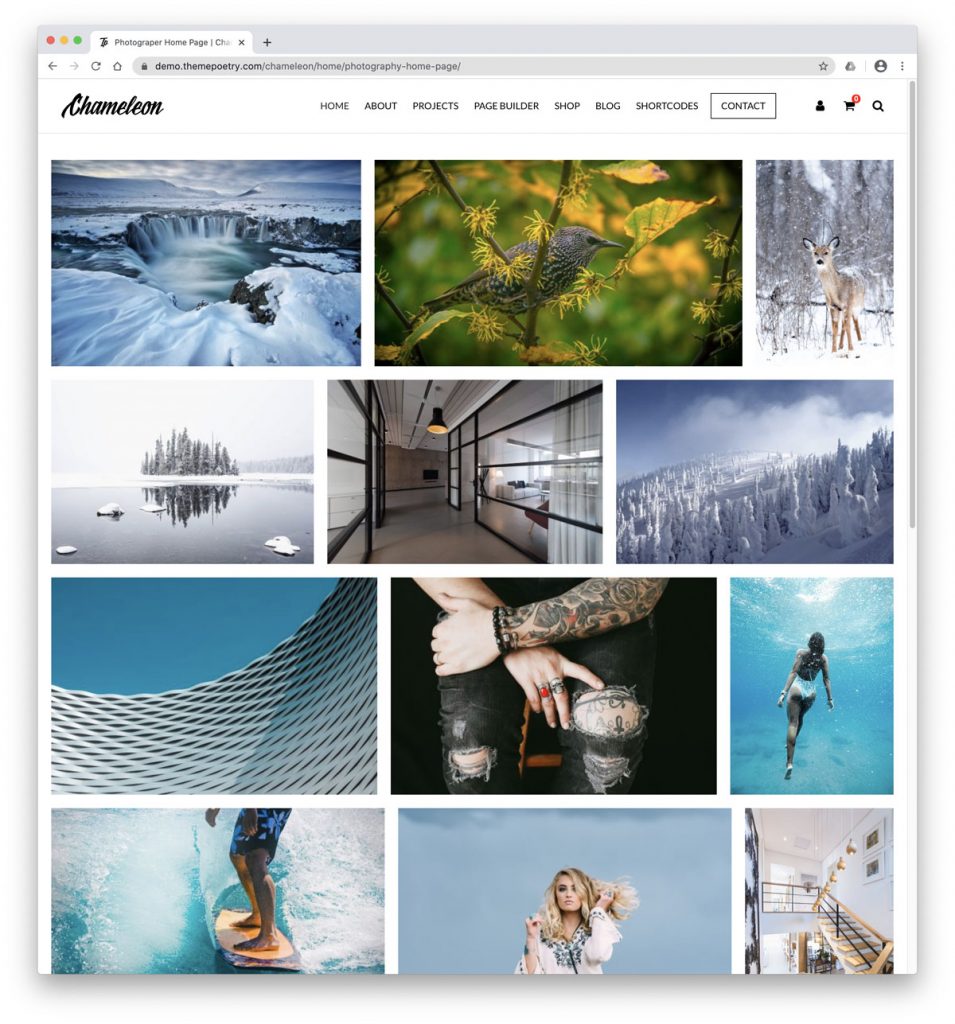
Now we’ll add a Gallery
A comprehensive Gallery can make a website look amazing.
Our Gallery section offers three different ways of displaying your Gallery – each image has a pop up to 1600px wide (depending on how wide the browser is)
View on the Chameleon demo site
- Click Add Section and select Gallery.
- Click Show Heading if you wish to give the Gallery a title.
- Select the type of gallery:
Standard: Each image should be the same size and proportion and is displayed in 3 equal columns.
Google style: the image height will remain the same as each other but the width will vary.
Masonry: the images widths will remain the same as each other but the height will vary. - Click the Add to Gallery button to select your gallery images
- Upload or Select the required images.
- You may now reorder the sequence if you wish by using the Bulk Actions dropdown or simply dragging the images into your preferred order.
- Click the Show More checkbox if you wish to add a button
- Have a look at your page!!
So this is your Home page … you can leave it at this or can add more sections to build your page and keep on adding until you’re happy with it.
For more reference on the Page Builder See the section starting with Page Builder Overview